 |
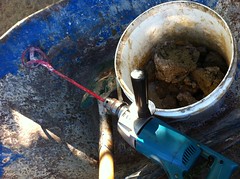
| Materials Used to Mix 2nd & 3rd Layers |
 |
| First Stage of Mixing Underway |
I added some more clay and water, and once I had about 3/4s of a bucket I poured (yes, poured) it over some sand in the wheel barrow. The sand mixed in with the clay-ey liquid like mixing mortar. I did some more and invited Bob around to assist in finishing the batch and putting it on as the second layer.
 |
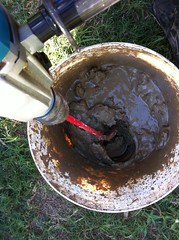
| First Stage of Mixing Almost Complete |
I used a 40 or 50 litre bucket. The rough quantities for this layer were:
First Batch:
1/2 bucket of lumpy freshly dug clay
1/4 full of water
about 2 spades of sand (in the barrow)
Second Batch:
full bucket of lumpy clay
2/3 full of water
 |
| Second Stage of Mixing |
Mixing in the barrow, the first batch was probably a little too dry; and the second batch may have been a little too wet.
Overall, this layer was a bit wetter than the previous one. It would have been difficult to form bricks. Instead we applied this layer by making snowballs and going around in circles. It was strong enough to allow me to add some extra clay mix as a slight cowling over the doorway.
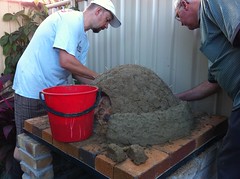 |
| Adding the Second Layer |
 |
| Second Layer Complete |
No comments:
Post a Comment